How to Apply Shower Silicone at Home
Correctly applying silicone is important for closing gaps around a shower enclosure or bath and preventing water leakage. It forms a waterproof barrier that protects your bathroom. Several techniques help achieve the right result. Start with an even surface, and make sure it is clean, dry and grease-free so the silicone can adhere properly.

Measure the area to be sealed and isolate it where needed. A sealant gun can help apply silicone evenly. Avoid applying too much, and remove excess when necessary. Allow sufficient time for polymerisation to finish. Correctly applied silicone prevents leaks and protects the bathroom for a long time. Incorrect application, however, can cause problems and require replacement. Applying it properly is important for keeping your bathroom or shower area sound and protected.
What Is Shower Silicone?
Also known as bathroom silicone, it is used for filling, sealing, insulation and bonding. It prevents water leakage around shower enclosures, baths, basins and toilets. It also forms corner connections and fills gaps at junctions to keep water and moisture out. Shower silicone consists of 100% silicone polymer and resists fungi and mould. Its high elasticity allows use in different areas. It is solvent-free, moisture-resistant and meets ISO 11600 – F&G – 25 LM. It is ideal for preventing bathroom leaks, isolating areas and making suitable connections. Selsil shower silicone can meet your needs in kitchens as well as bathrooms.
How Do You Apply Shower Silicone?
Correct application protects the bathroom or shower area against leaks. Follow these steps:
Materials
- Silicone sealant gun.
- Silicone sealant tube: choose waterproof, mould-resistant properties.
- Silicone cleaning material, such as silicone remover or alcohol.
- Masking tape.
- A sharp knife or scissors.
- A wet cloth.
Preparation: clean around the enclosure first. Use silicone remover or alcohol to remove existing silicone. A clean surface helps the new silicone adhere better.
Masking: carefully protect the area with tape to create an even, precise line.
Preparing the silicone: cut the tube tip and fit it into the gun. Use the trigger to dispense silicone carefully into the application area.
Applying the bead: move the gun slowly and continuously to create an even line. If you do not have gloves, dip your hand in water to smooth the silicone. Use a suitable sealant gun for cartridge packaging; application without a gun applies only to a suitable squeezable tube.
What Should You Check Before Applying Shower Silicone?
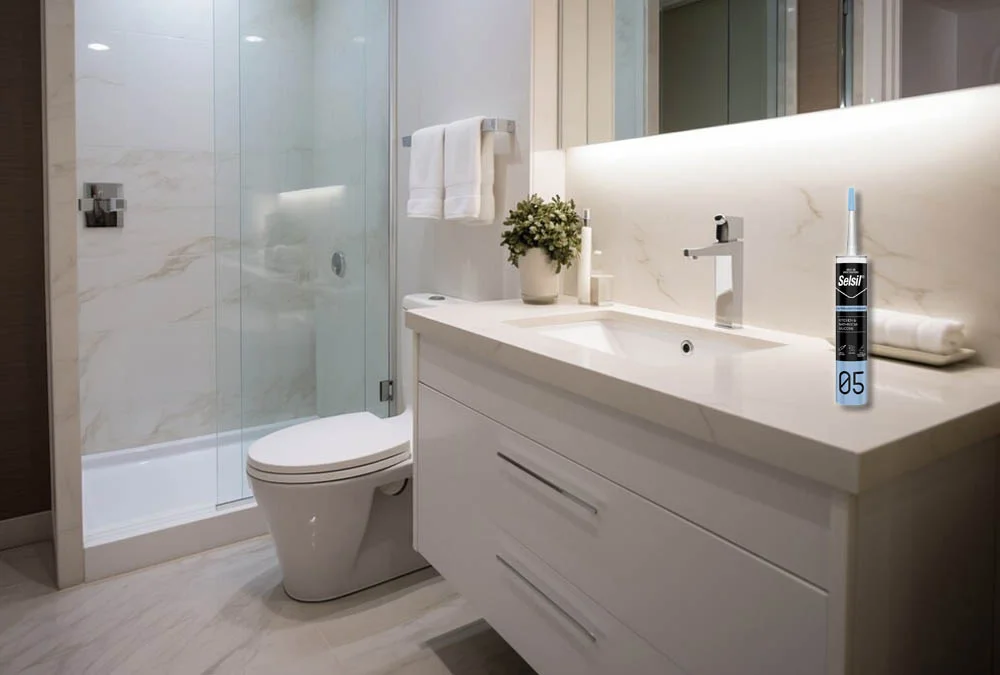
Remove all old silicone to prepare the surface and improve adhesion. A spatula or chisel can be used for removal. Choose bathroom silicone before application, as its resistance to high humidity provides lasting results. Use your finger to spread the silicone evenly and prevent air bubbles and gaps. Avoid excessive amounts, but fill the joint to the required dimensions; do not reduce the filling amount merely for appearance. Smooth excess material appropriately. These steps help you apply silicone successfully and make it last.
Choose the applicator for Selsil bathroom silicone according to its packaging. Cartridges require a gun; suitable squeezable tubes can be applied by hand. Its heat resistance also helps it withstand hot water and steam. Experience its ease of use on bathroom renovation work.
You may also like: What Types of Adhesive Are Available?