
Why Does Bathroom Silicone Go Mouldy?
Mould develops on bathroom silicone when moisture remains on the surface for a long time and cleaning residue builds up around the edges. Shower enclosures, baths, basins and tile joints are vulnerable because they are frequently in contact with water. The first black spots may look small, but they gradually spread along the joint, cause odours and spoil its clean appearance. Dirt is only part of the problem: airflow, drying habits, product choice and ageing material all play a role. Understanding the causes makes it easier to reduce staining and delay its return. A simple home maintenance routine keeps the bathroom fresher and helps the silicone joint last longer.
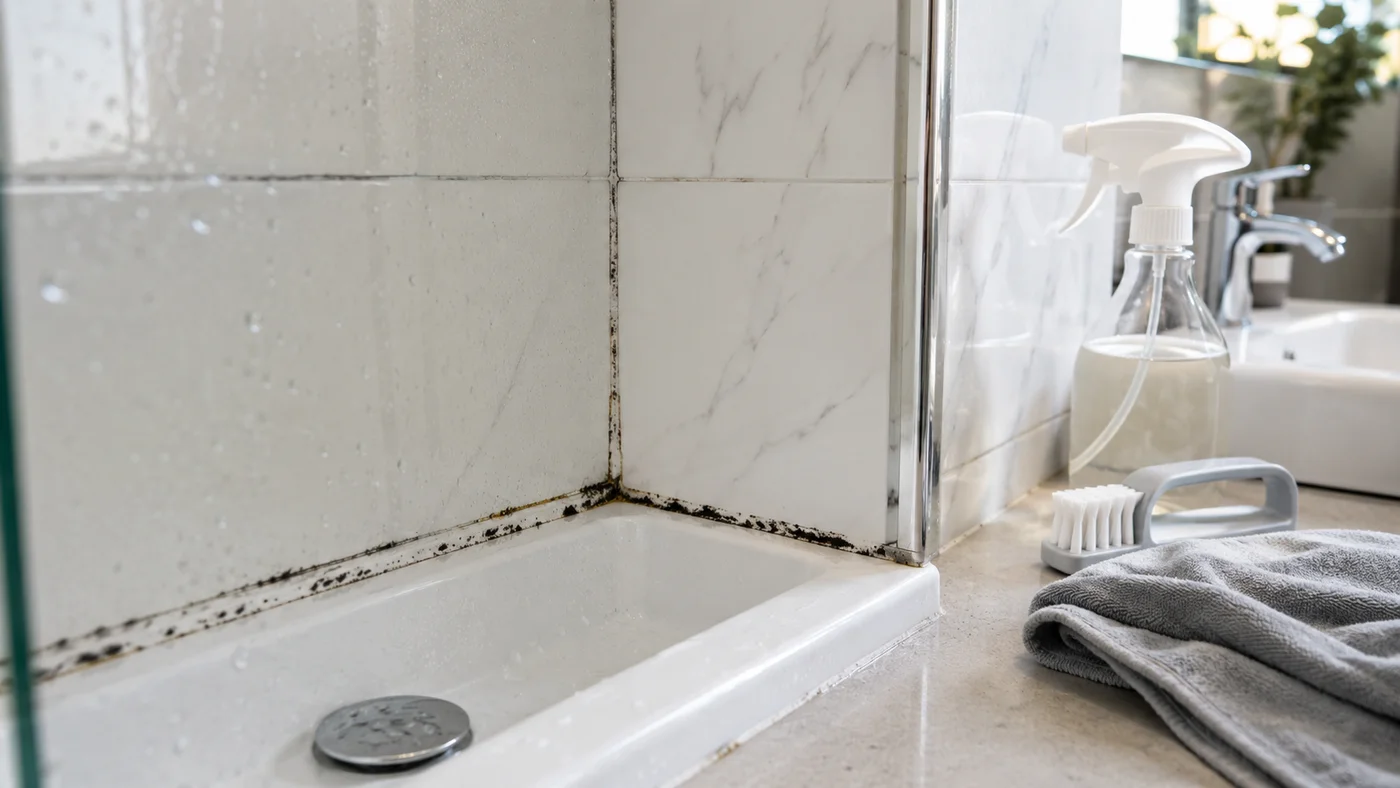
How Do Moisture and Airflow Affect Mould?
Mould thrives in wet areas with poor ventilation. After a shower, water droplets left on glass, tiles and joint edges create conditions for growth if they take too long to dry. Bathrooms with closed doors, unopened windows or weak extractor fans carry greater risk. Moisture that condenses on walls after hot water use settles around the silicone. Stains can appear sooner in small bathrooms left closed overnight. Better circulation dries surfaces faster. Leaving the door ajar, using a squeegee on the glass and removing water from the floor after showering make a practical difference. If bathroom silicone remains constantly wet, mould can quickly return even after cleaning. Drying habits matter just as much as cleaning. Run an extractor fan during showers to reduce moisture. Where a window is available, even a few minutes of fresh airflow can improve conditions.
Why Do Soap Residue and Limescale Matter?
Shampoo, shower gel, soap, conditioner and body oils leave a thin film around the silicone. Combined with hard water, this residue makes the surface rough, giving mould spores more places to cling. A dull patch that looks like ordinary dirt can become black spots in the following days. Toothpaste around basins and detergent residue in wet areas adjoining kitchens can have a similar effect. Gentle weekly cleaning helps prevent build-up. Very strong products are not always needed: warm water, a soft cloth and a suitable cleaner may be enough. Deeper stains may require a stronger treatment with a specified contact time. Stiff brushes and wire scourers scratch the surface. Dirt collects more quickly in scratched areas, and black marks soon return.
Can Silicone Quality and Application Errors Cause Mould?
Material quality affects mould growth. Silicone unsuitable for wet areas can discolour quickly. Mould-resistant products offer greater resistance, but incorrect use can make them blacken too. Adhesion is weakened if the surface is dirty, damp or soapy during application. Water enters gaps along the edges, allowing mould to grow out of sight. A thick, uneven bead or gaps can leave small pockets where water collects. Applying new silicone over old material is also unsuitable, as mould in the lower layer can remain active. When replacing bathroom silicone, remove the old layer completely, dry the surface and clean the joint. Observing the drying time after application helps preserve the finish. A poorly applied bead may look good initially but start lifting at the edges within weeks. Water then enters these areas, causing blackening that cleaning cannot remove.
How Do You Clean Mouldy Silicone?
Start by wiping the area with warm water to remove loose dirt. Then choose vinegar, a baking-soda paste or a cleaner intended for mould stains. For light marks, leave vinegar to work for a while and use a soft brush. Mix baking soda with a little water to form a paste and spread it over the stained joint. If using a surface-compatible option such as a Pak cleaning product, follow the label instructions for safe use. If using bleach, ventilate, wear gloves and never mix it with other chemicals. Mixing with vinegar, descaler or ammonia products is a health risk. Rinse the silicone thoroughly after cleaning and dry it completely with a cloth. Stains can return faster if the surface is left wet. Where a strong chemical has already been used, rinse and dry the area fully before applying a second product.
When Should Silicone Be Replaced?
Surface mould can be cleaned to restore the appearance. If blackening has penetrated the silicone, however, permanent marks remain. Replacement is a better option if it feels soft under finger pressure or has lifted edges, cracks, gaps or an unpleasant smell. If dark marks return a few days after cleaning, moisture may remain underneath. Carefully remove the old material, scrape and dry the surface, and prepare it without leaving residue. Applying new material to a wet surface does not give a lasting result. Avoid water contact until the specified drying time has passed. Correctly replaced bathroom silicone reduces leakage, makes joint edges look cleaner and lowers mould risk. Large cracks, gaps between tiles or continuing leaks may need more than new silicone. Without repairing the water source, the problem soon returns.
Daily Habits That Help Reduce Mould
The easiest way to tackle mould is to stop moisture staying in place for long. After showering, squeegee the glass, wipe the silicone dry and leave the door open. These are short but effective habits. Gentle weekly cleaning reduces soap and limescale build-up. Wet bathmats, towels and shower curtains raise humidity, so drying them quickly also helps. Run an extractor fan during and after showers if available. Brief ventilation helps where there is a window. Keep bottles and washcloths away from silicone edges, as water collects underneath them. Regular checks let you spot small black marks early. Prompt action reduces the need for intensive cleaning or replacement. A clean, dry, fresh bathroom creates a more relaxing space for everyday use. These small routines take little time: a minute spent drying after a shower is easier than difficult cleaning weeks later.