
Why Does Sealant Crack, and How Can You Prevent It?
Fine cracks, separation or tears appearing soon after you apply sealant can be frustrating. Cracks at wall junctions, around windows, in wet areas or on exterior walls rarely have a single cause. Product selection, surface condition, joint dimensions and application conditions all play a part. Checking the right factors helps you achieve a neater, more durable and more reliable result. Common causes include poor joint design, dirty or damp surfaces, stresses beyond the sealant’s movement capability, inadequate priming and incorrect application geometry.
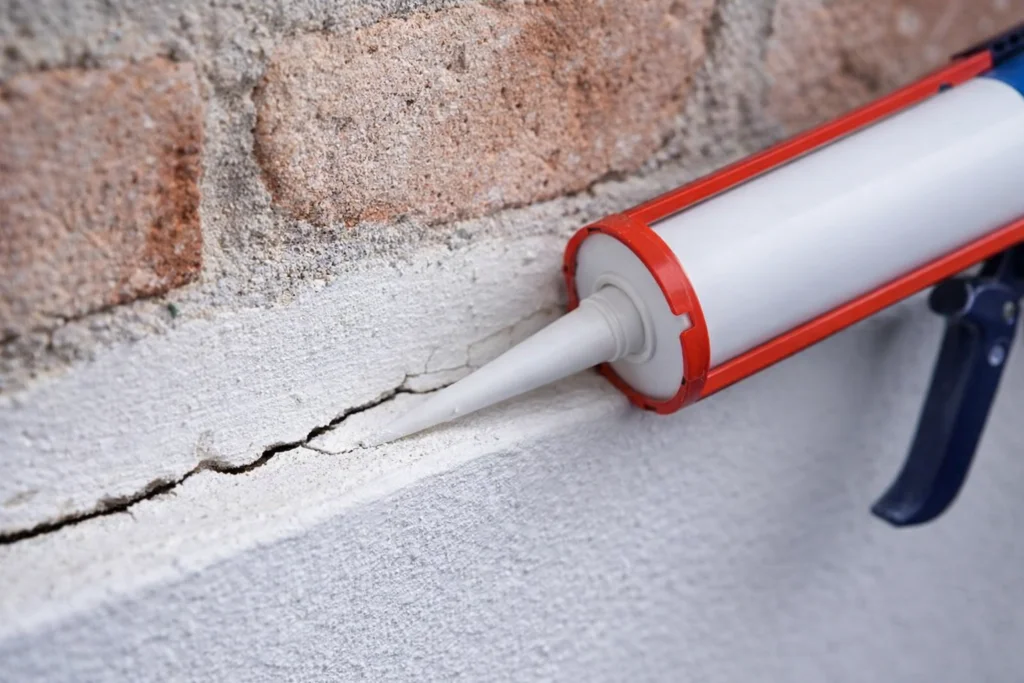
Why Does Sealant Crack?
Sealant needs to remain flexible to accommodate movement between two surfaces. Problems often begin with the way the joint moves. Temperature changes, sunlight, moisture, vibration and building movement repeatedly stretch and relax the sealant. If the chosen product cannot accommodate that movement, it can crack, tear or pull away at the edges. Joint width must match the sealant’s movement capability. Movement beyond this capability can cause both loss of adhesion to the surface and tearing within the sealant itself.
How Do Application Errors Increase the Risk of Cracking?
Even a good sealant cannot compensate for poor application. In a joint that is too narrow, it cannot move freely. If the joint is too deep, the sealant accumulates stress instead of flexing. Insufficient filling, air pockets or poor dispensing leave weak areas. During application, press the sealant firmly against the joint walls and tool its surface correctly. Proper joint design reduces stress, while suitable dispensing and a smooth profile improve adhesion. An incorrect width-to-depth ratio, a poorly shaped surface and adhesion to all three sides of the joint significantly increase the risk of cracking.
Why Is Surface Preparation So Important?
Sometimes the problem is the surface beneath the sealant rather than the sealant itself. Dust, loose material, old residue, grease, moisture or an unseen film of dirt weakens adhesion. An application that looks sound on the first day may soon begin to separate at the edges. Without appropriate pretreatment, porous surfaces also allow more water to pass through. The inside of the joint must be clean and dry, and using a primer where required can have a substantial effect on durability. The substrate must also be strong enough to withstand the forces exerted by the elastic sealant. Otherwise, the underlying surface can crack even if the sealant stays in place.
What Happens When You Choose the Wrong Sealant?
No sealant is the right choice for every application. A product suited to indoor use may be unable to cope with sunlight and temperature changes on an exterior wall. Moving joints need greater flexibility, while applications requiring chemical resistance call for different properties. Technical data shows that low- and medium-modulus products accommodate repeated movement more readily, while high-modulus products are chosen for different strength requirements. Consider joint movement together with exposure to heat, water and sunlight. Consulting the technical data sheet as well as the label significantly reduces the likelihood of cracking.
A Practical Checklist for Preventing Sealant Cracks
Checking a few essentials before application reduces the need for later repairs. These steps make a real difference on site:
- Remove dust, moisture and loose material from the joint. Clean, dry surfaces are the basis of strong adhesion.
- Choose a product suited to the joint dimensions. Its movement capability must match the expected movement.
- Use backing rod where required. It establishes the correct joint profile and prevents three-sided adhesion.
- Apply enough pressure to seat the sealant against the joint walls. Tool the surface to a smooth profile.
- Do not stress the area before curing is complete. Early movement and abrupt temperature changes can cause surface cracks.
The Right Approach to a Neat, Lasting Finish
Sealant cracking often looks like a product defect, but the causes on site are more varied. The right product, a clean surface, a suitable joint profile and patient application together keep the problem largely under control. When renewing a joint, address the underlying cause rather than simply covering the old crack. Establish whether the joint moves, the surface is dirty, the sealant is too deep or the wrong product was chosen. Clear answers help you make a more reliable decision. A well-planned sealant application preserves the appearance, reduces water ingress and minimises repeat repairs.