
Can You Use Silicone between Tiles?
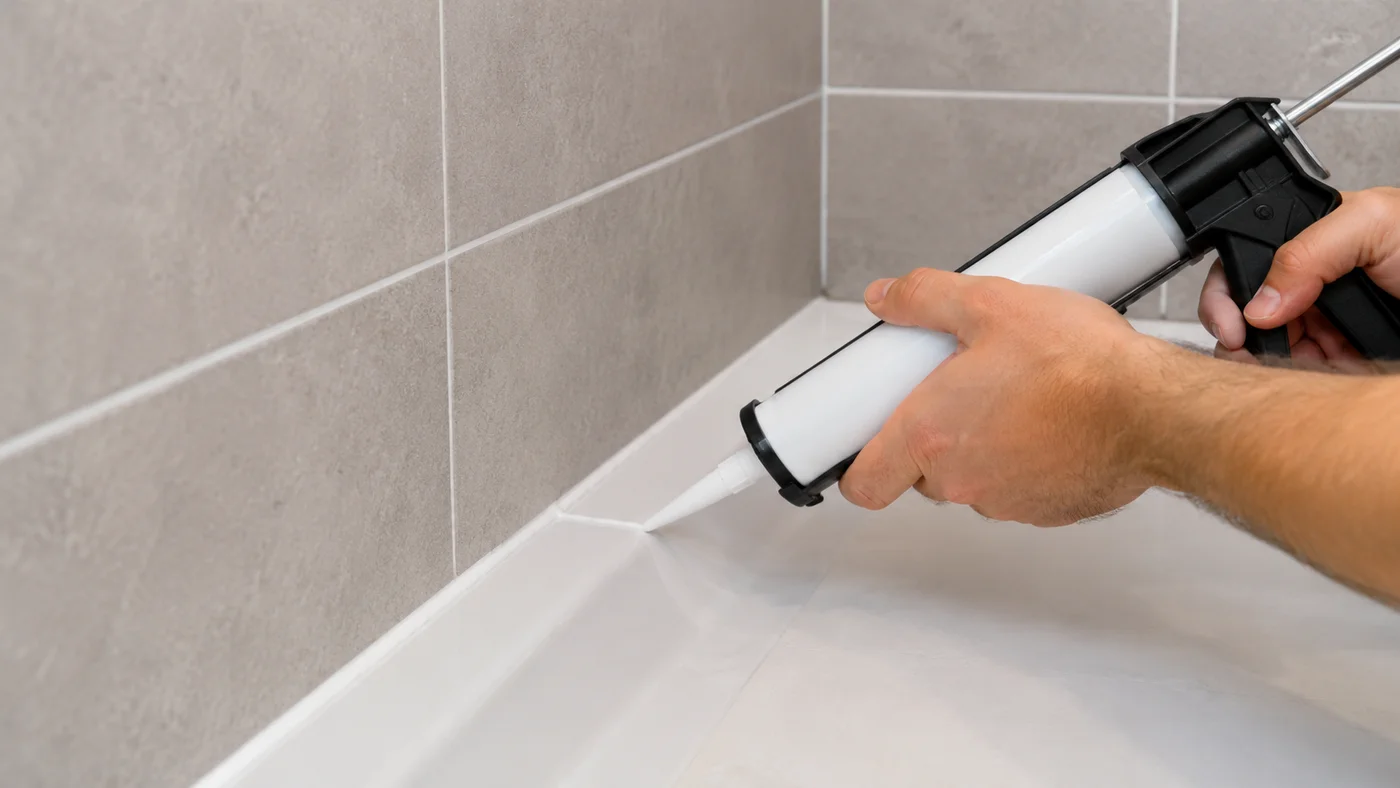
Silicone can be applied between tiles, but it is not the right choice for every joint. Regular gaps on flat, stable surfaces are usually filled with cement-based or epoxy grout. Silicone is used at wall corners, floor-to-wall junctions, bath edges, shower trays and connections where movement is expected. It suits areas needing flexibility. Filling every joint with silicone can cause dirt build-up, an uneven appearance and early detachment.
Should You Use Silicone or Grout between Tiles?
Grout hardens to fill the regular spaces between tiles. Its wear-resistant surface makes it the main choice for wall and floor coverings. Choose and apply tile grout according to the joint width and application allowed by the product. In wet areas, water- and stain-resistant cement grout or epoxy options may be preferred.
Silicone does not act as a rigid filler. It stays flexible after curing and accommodates small movements between surfaces moving in different directions. Bathroom silicone is more suitable at shower corners, worktop-to-tile junctions and around baths. Rigid grout in moving joints can crack or detach at the edges. Technical tiling systems recommend grout for fixed tile gaps and elastic sealant for movement joints and connections.
For material selection, follow the preparation and application steps in our guide to grouting. When choosing silicone between tiles, check the label for suitability for ceramics, glass, shower areas and persistent moisture.
Acetoxy-curing products can be used on glazed ceramics and glass but may be unsuitable for marble, natural stone, mirror backing or sensitive metals. In these areas, look for a compatible neutral-curing option. Check mould resistance, elasticity and full cure time on the packaging for wet-area use. Matching the grout colour also makes corner joints look neater.
How Do You Apply Silicone between Tiles?
Remove all old filler before starting. Use a grout knife or suitable scraper. Avoid metal pressure that could scratch tile edges. Remove soap, grease, mould, dust and moisture. New silicone does not bond strongly to old silicone. If the area has been washed, let the inside of the joint dry.
Apply masking tape to both sides, leaving an even width. Cut the nozzle to suit the gap and move the gun at a steady speed. After laying a continuous bead, shape it with a silicone-finishing tool within the manufacturer’s stated time. Remove the tape before the surface skins. During the silicone application process, a dry surface and controlled application give a cleaner line.
In deep gaps, use suitable backer rod rather than unnecessarily filling the space with sealant. The rod helps the sealant bond to the two sides and accommodate movement more easily. Wait for the full cure time stated on the packaging before showering or intensive cleaning. Many products skin quickly, but hardening inside takes longer.
Should You Apply Silicone over Old Grout?
Covering a crack with a thin silicone layer is not a lasting way to renew old grout. If the material underneath is loose, dirty or damp, the new layer can soon lift at the edges. Scrape damaged cement grout back to sound material, clean the gap and renew it with the same grout type. At a corner or bath junction, all old material can be removed and bathroom silicone applied.
For example, rigid filler may crack again along the vertical junction between two shower walls. A flexible product accommodates small building movements better. In contrast, filling every floor-tile gap with silicone is a poor choice for cleaning and wear. Identify whether the gap is a fixed tile joint or a moving junction before renewing old grout. Using grout in fixed areas and suitable silicone at corners and connections gives a longer-lasting result. Regular inspections of the bead help identify lifting, blackening and leaks earlier.
Related Articles
What Is Grout, and How Do You Apply It?
The character of a room often depends on details rather than large surfaces. The narrow joints between tiles may seem unimportant at first, but they shape the room’s hygiene, durability and appearance.
Tips for Applying Silicone Sealant
Silicone is widely used in renovation and construction at home or work to provide waterproofing and an attractive finish. Correct application makes a substantial difference to the quality of the result.