How to Apply Silicone Sealant
Silicone is needed throughout the home, particularly to keep water and moisture out. Careful application prevents the treated area from taking in either. It fills gaps at joints without trapping air. Its soft, sticky consistency makes it difficult to control. For successful results, follow the steps in this guide carefully. If you are unsure, ask someone experienced to help. Correct application of this effective insulating material provides lasting protection.
Prepare the Surface Before Applying Silicone
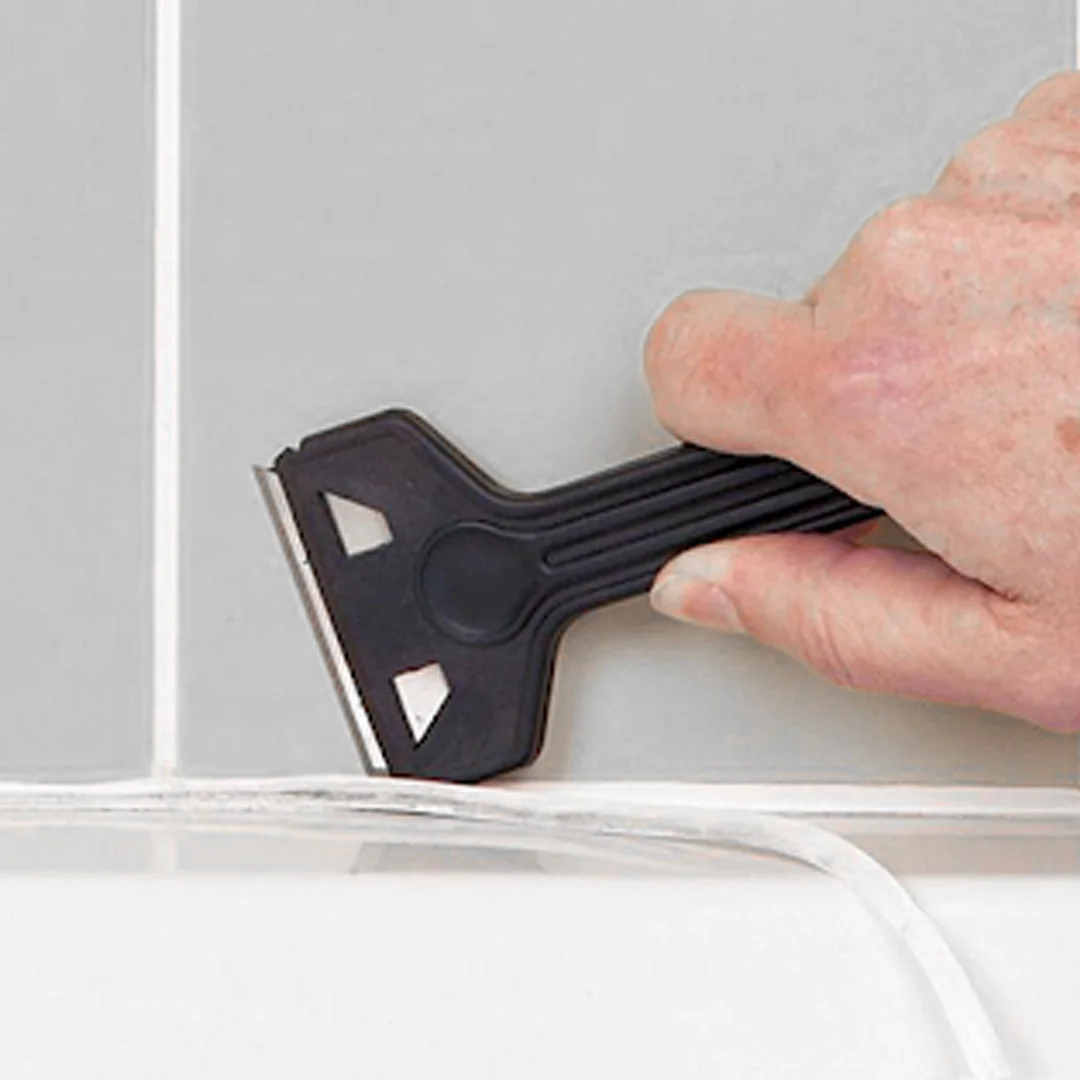
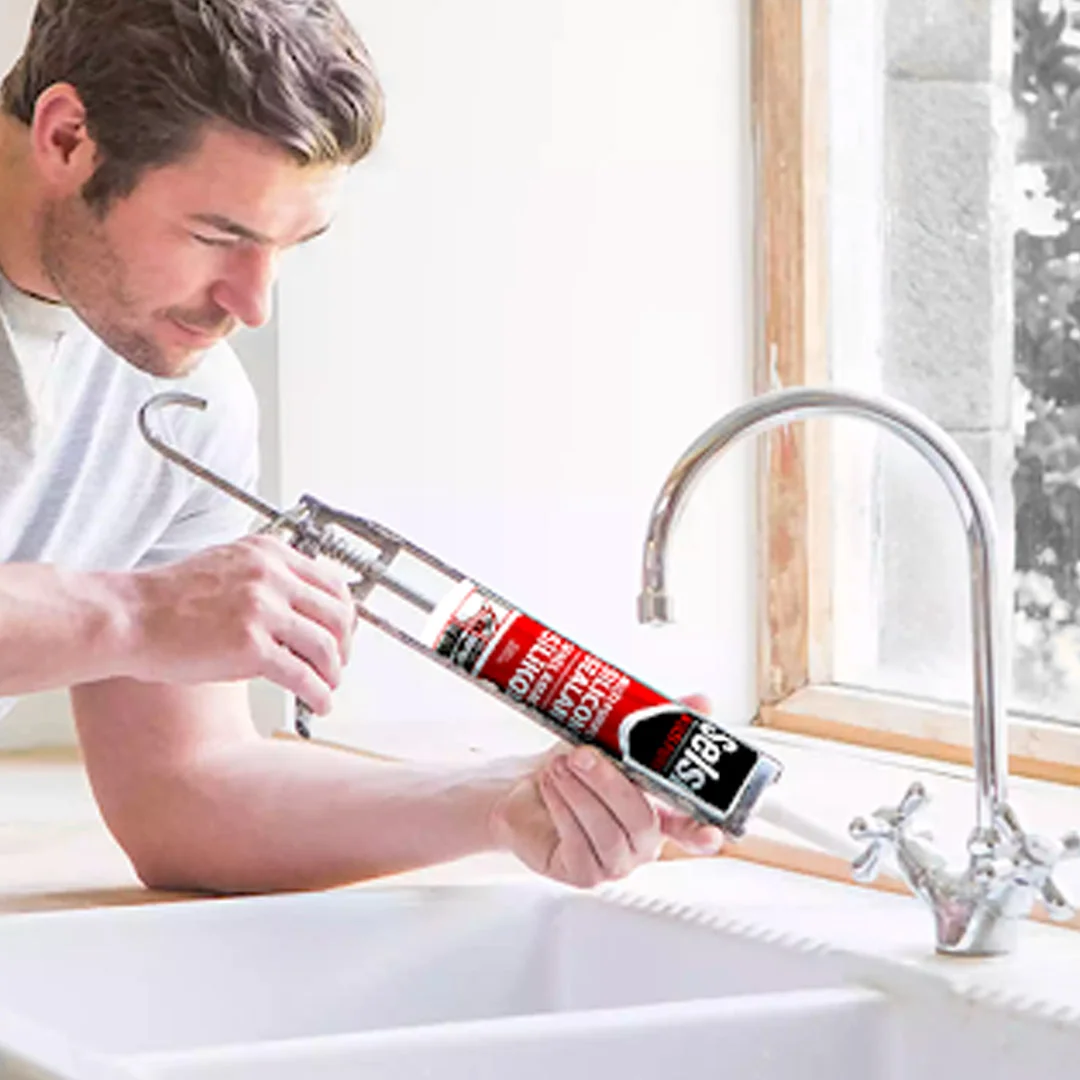
Before applying silicone, gather a tube, a metal sealant gun, masking tape and a craft knife. Remove all existing silicone and keep the surface dry. Our detailed guide, How to Remove Silicone, explains this process.
Clean the surface completely, leaving no grease, dust, moisture or similar contamination. A fully clean surface is essential to proper bonding and trouble-free use.
Removing old silicone is often the most difficult preparation step. Without thorough removal, new silicone will not adhere. Razors were once used for this time-consuming task. Specialist removal products are now available: apply them to soften the old silicone and make it easy to remove.
Apply Masking Tape
Place tape on both sides to control the application area. This minimises stray silicone that needs cleaning afterwards. It reduces potential problems and makes a successful result easier.
Prepare the Silicone Tube
Cut the nozzle at 45 degrees with a craft knife, matching the opening to the width of the area. Insert the tube into the gun. If using a gun for the first time, practise on spare cardboard before applying to the joint. Check the flow and avoid drips, which create extra work.
Apply Silicone to the Surface
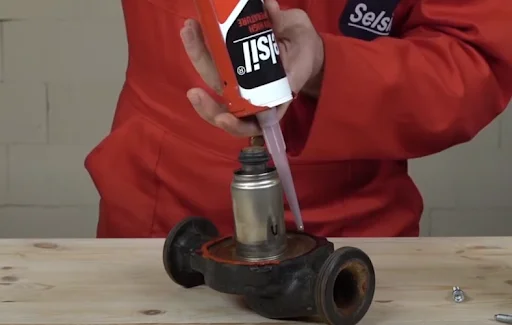
Work at a 45-degree angle for greater control and a clear view. Do not rush. Move slowly along the area in one continuous pass. Release the trigger quickly at the end to avoid drips.
After dispensing, smooth the bead with your finger. Avoid excess pressure and make one gentle pass. Washing your hand in warm, soapy water before starting helps prevent too much silicone from sticking to your finger.
Remove the Masking Tape
Once the bead is as you want it, remove the tape carefully without damaging the silicone. Clean the corners thoroughly afterwards to prevent dust and dirt build-up.
For the required result, let it dry for 24 hours and keep the area dry throughout.
Silicone in shower enclosures may need more frequent renewal. Moisture eventually causes mould and darkening. Even mould-resistant products deteriorate over time and need replacement.
If applying silicone seems difficult, silicone sealing strips are another option. They are convenient for filling. Follow the same preparation advice as for ordinary silicone.
Before starting, make sure the area is clean and dry. Work carefully with this sticky, easily dripping material. This allows you to seal leaking areas completely and resolve the problem.