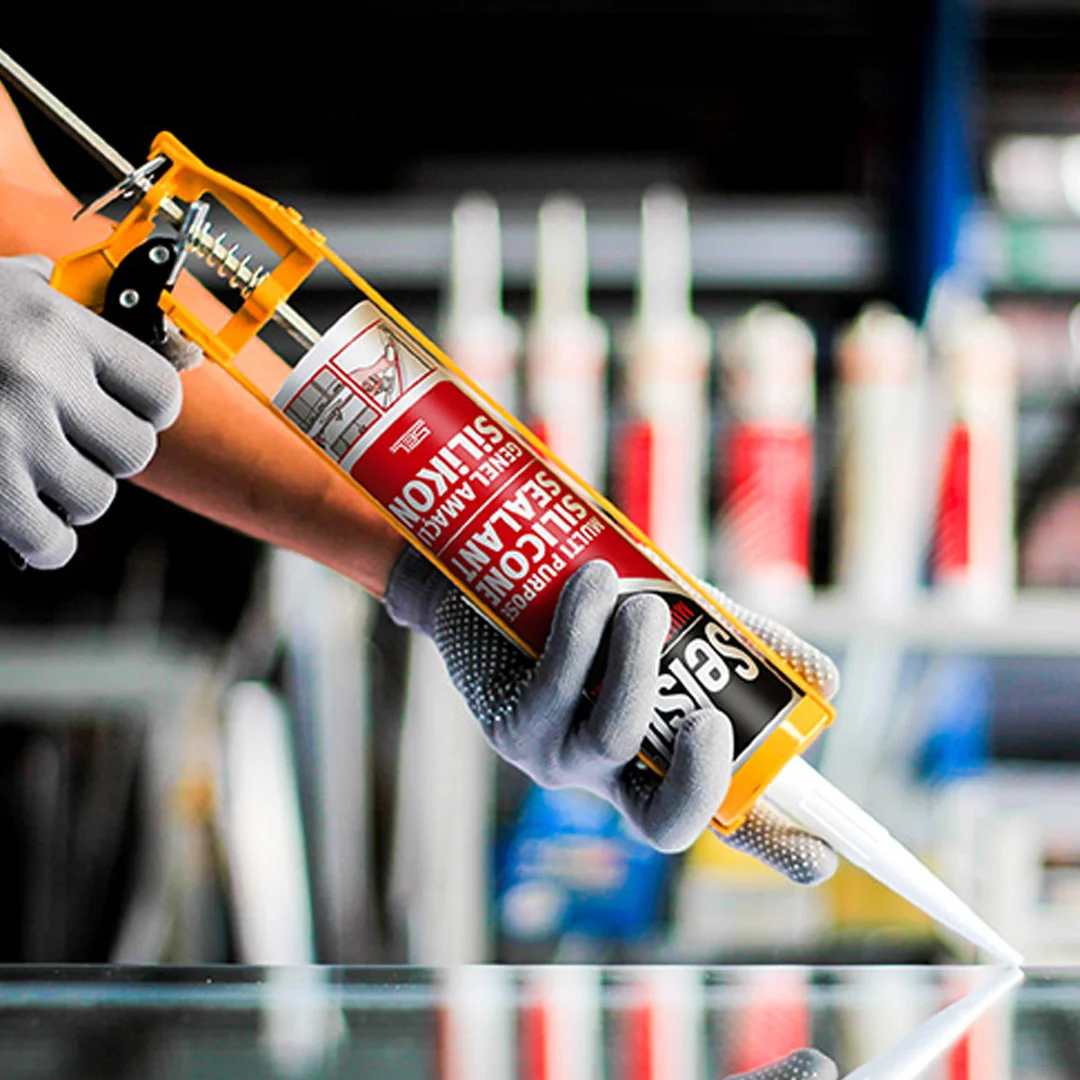
How to Remove Silicone
Silicone is a versatile building material often chosen for repairs and refurbishment, as well as crafts. Its broad use means cleaning is not limited to replacing old seals: small projects can also leave drips on the floor. Because it flows easily and sticks quickly, removal can be difficult. Taking out years-old, cured silicone is another challenging task.
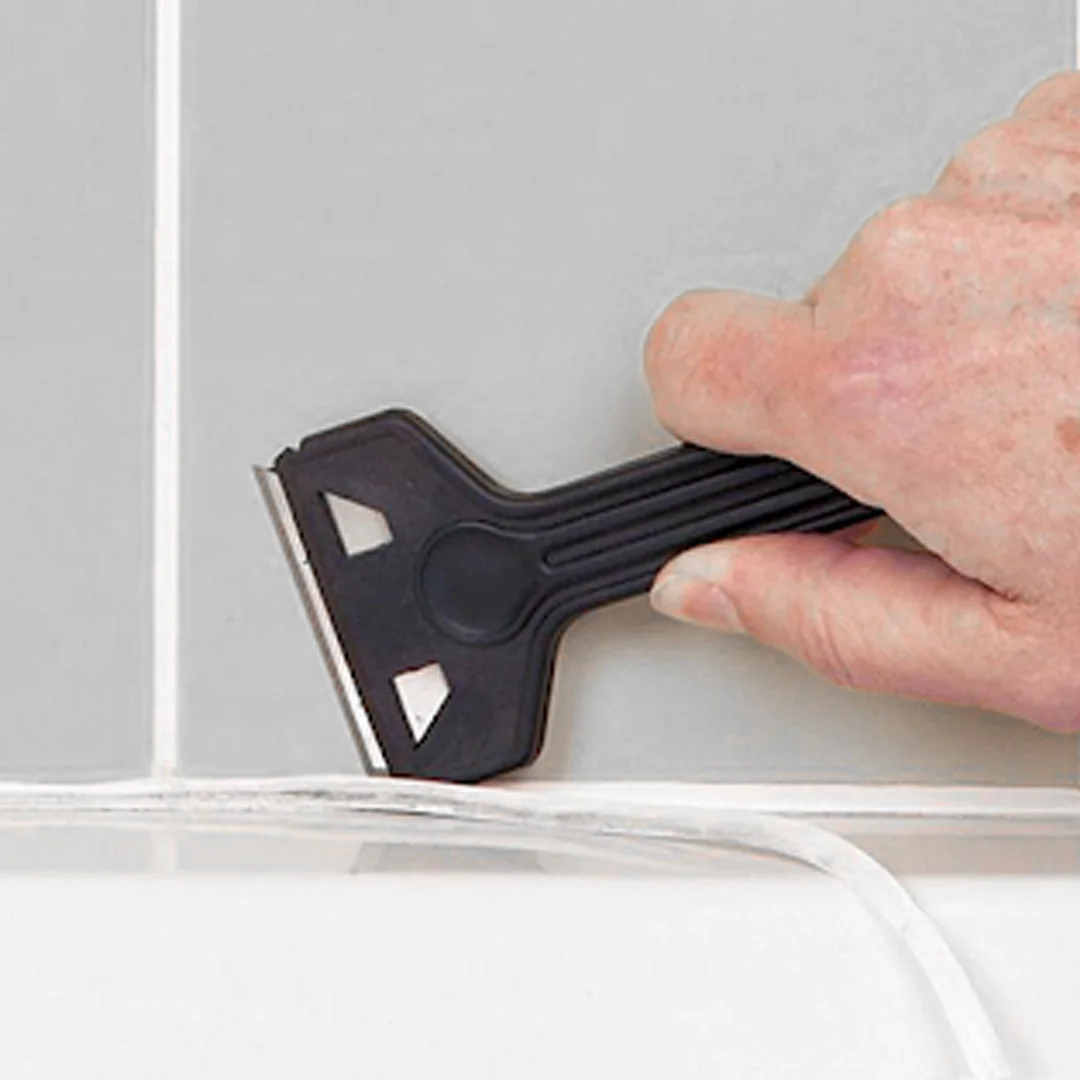
Although silicone lasts well, frequent water exposure can lead to darkening and mould. Damaged seals that start leaking need replacement. Small home updates may also require complete removal of silicone used for insulation. Any residue can prevent new silicone adhering fully, leaving an ineffective seal and forcing you to repeat the work. If the area will no longer have silicone, remnants can spoil the appearance of your improvements. Avoiding surface damage matters too. Careful removal helps you achieve good results.
How to Remove Silicone
Silicone is among the best adhesives for sealing doors and windows against air. Easy for anyone to apply and very affordable, it can also match many industrial-strength glues, bonding marble, wood, glass and similar materials.
It has few disadvantages, including gradual loss of adhesion and local lifting. This is less difficult to address than it might seem. You can replace silicone yourself with household materials, without professional help or extra expense.
Replacement is relatively quick and easy. The key is removing all existing silicone. Old silicone is not difficult to clear when you know how; otherwise, removal can take time, scratch the substrate and leave insufficient adhesion for the replacement.
Like applying new silicone, cleaning it is a task anyone can do with household materials.
Always consider the surface. Different materials need different steps and tools, which we examine below.
Several removal methods are available. Traditional techniques and specialist liquids can give faster, easier results. A method used on clothing may be unsuitable for tiles, potentially damaging or even ruining the surface.
How to Remove Cured Silicone from a Surface
Cured silicone cannot be melted away with heat like hot-melt adhesive. Carefully lift accessible material with a suitable non-scratching scraper first. Use a surface-compatible silicone remover for the remaining thin layer, following its instructions. Avoid high heat, which can damage surfaces and create additional hazards around solvents.
Check the surface type when choosing a remover. Do not assume alcohol or acetone fully dissolves every cured silicone. Some products help soften residue, which still needs mechanical removal. Follow the label, test a hidden area and use the specified protective equipment. Do not use solvents on fabric or delicate finishes unless compatibility is stated.
How to Remove Shower Enclosure Silicone
Darkened, detached or leaking silicone may need replacement. Loosen an edge with a suitable tool and slowly pull away the thick bead. Avoid scratching glass, coatings or grout, and protect yourself from cuts when using sharp tools. Use a compatible silicone remover for residue according to its instructions. Do not sand over solvent. Clean and dry the surface before resealing.
How to Remove Silicone from Glass
Glass needs particular care because it scratches easily. Work slowly and gently. If you notice a mark before it cures, lift the material with a firm, non-scratching tool and wipe with a damp cloth. Avoid spreading it, which would leave a larger area to clean after curing. If already cured, one simple method is to lift an edge with a fingernail, pull it away and wipe with a clean, damp cloth.
Silicone is common around windows without PVC frames and is ideal for keeping winter cold out. Peeling silicone can allow cold air in. Do not try to stick loose sections back down: remove the entire old seal and replace it.
On glass, unlike bathroom surfaces, scrape the whole silicone layer with a utility knife or razor rather than only lifting its edges. Work gently and slowly: forceful contact can scratch glass.
If scraping is insufficient, choose a silicone remover compatible with the glass and surrounding materials. Test a small hidden area, observe the waiting time and remove softened residue with a suitable tool. Do not use a heat gun to melt it. Never combine heat with flammable solvents such as alcohol.
A hairdryer is also unsuitable for melting cured silicone. Repeated high heat can damage surrounding plastic or coatings. Remove remaining pieces mechanically and with a compatible remover according to the instructions.
Complete cleaning according to the care instructions for the glass and remover. Do not apply one cleaner over another. Ensure residues are gone and the surface is fully dry before resealing.
Careful mechanical removal can clear cured silicone from glass. Choose tools according to the coating and scratch risk, using a glass-compatible remover where needed. Do not attempt to melt it with high heat.
Removing Silicone from Wood
Silicone does not adhere to wood as well as to bathroom surfaces and glass, so lifting loose material is easier. Slowly pull it from the free end. Less residue should remain. A utility knife or razor is still needed for this, but scrape with extra patience and care on painted or varnished wood.
For remaining silicone, choose a remover compatible with the wood and its paint or varnish. Test a small hidden spot; do not continue if the colour fades or finish deteriorates. Follow waiting and wiping instructions. Avoid high heat, which can damage both wood and finish. Lift residue with a suitable tool without scratching.
Once all silicone is gone, clean with a suitable wood cleaner. Let it dry fully before applying new silicone. Keep windows open and ensure sufficient ventilation.
Removing Silicone from Bathroom Surfaces
Silicone is common on bathroom tiles, shower and bath doors, and marble basins. Constant water contact can cause it to lift over time. This makes removal easier, but certain steps protect surfaces from scratches and damage.
Start by cleaning the bathroom. Remove movable items that could obstruct work. Rinse thoroughly to remove all soap residue, as removal materials may react with soap and sometimes create harmful conditions. Keep doors and windows open for good ventilation.
Washing-up liquid can be used for cleaning. Let the surface dry completely after rinsing before removing silicone.
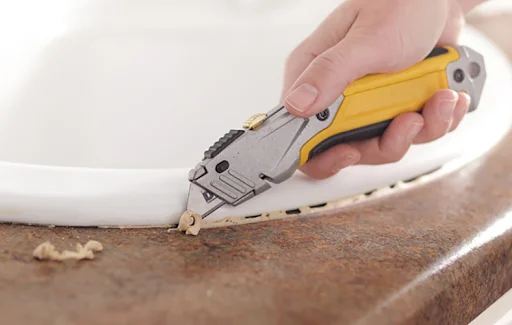
Use a thin, sharp knife to loosen adhesion; a utility knife or razor is suitable. Always take care with cutting tools. Gently lift along one side of the bead, repeat on the other, then slowly pull from the free end.
After removing the bead, remaining residue will probably need scraping with the knife or razor. Avoid cuts and scratching delicate bathroom surfaces. Work slowly and patiently.
Finish with a surface-compatible cleaner. Do not assume acetone, alcohol or methylated spirits suit every finish. Mechanical removal may still be necessary even when a solvent softens residue. Avoid damaging coatings through pressure with a stiff sponge. Follow care and rinsing instructions.
If mould marks remain, use a suitable cleaner. Do not mix bleach with alcohol, acetone, acidic cleaners or other chemicals, or apply it over a previous cleaner. Follow the label for use and rinsing, ventilate the area and let the surface dry before resealing.
Frequently Asked Questions
What is the quickest way to remove cured silicone?
Remove it mechanically with a surface-suitable method first. Treat the remaining thin layer with a compatible remover according to its instructions. Alcohol and acetone do not fully dissolve every silicone; do not try to melt it with high heat.
What happens if silicone residue remains?
New silicone will not adhere fully. This can lead to leaks, mould and early lifting. The surface therefore needs to be 100% clean.
Can silicone remover damage surfaces?
Yes. Strong solvents can discolour plastic, painted wood or delicate surfaces. Test a small area first.
Why does silicone darken or develop mould?
Persistent moisture, soap residue and poor ventilation encourage mould. Without regular cleaning, silicone in kitchens and bathrooms can darken quickly.
How can silicone between tiles be removed more easily?
Loosen the edges with a tool that will not scratch tiles or grout, then slowly pull away the thick bead. Use a compatible remover for the thin residue according to its instructions.
Can silicone be removed from clothing?
Yes. Wipe off fresh silicone; cured material can be frozen to harden it and then scraped away. Use chemical solvents carefully because they can damage fabric.
How often should silicone be replaced?
It loses its properties after an average of 2–5 years. Darkening, cracks or leaks indicate replacement is needed.
At what temperature should silicone be applied?
The best results are at 5–30°C. Very cold or hot conditions reduce drying performance.
You may also like: What Is a Silicone Sealant Gun?